REVIEW · POKHARA
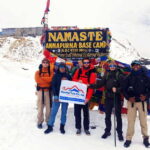
Kathmandu: 9-Day Annapurna Circuit Trek via Thorong La Pass
Book on GetYourGuide →Operated by MTA Trekking · Bookable on GetYourGuide
Thorong La is the reason you come. You get the big Thorong La (5,416m) day plus a route that keeps changing terrain; the main consideration is high-altitude tea-house living, so expect simple rooms and long walking.
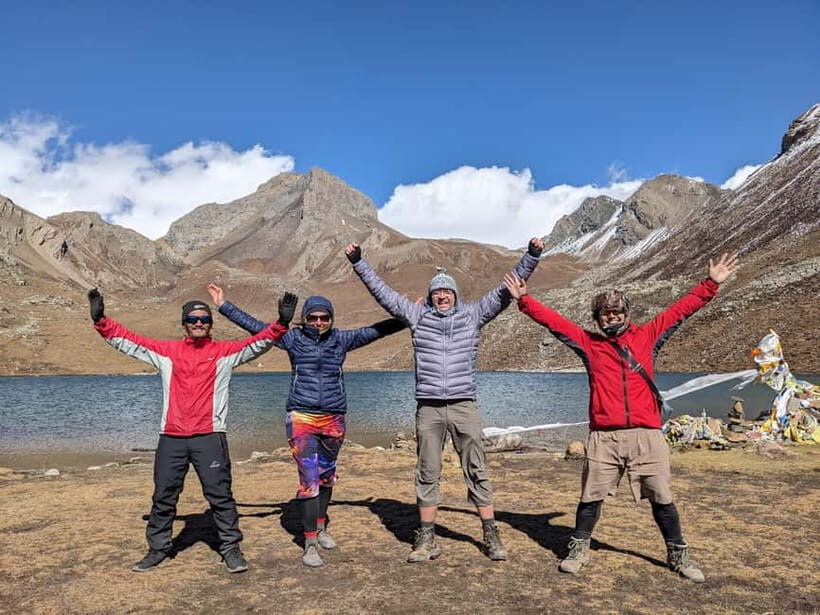
I love the built-in Manang acclimatization and the chance to move through Tibetan-style villages like Upper Pisang, with real chances to chat and share time with locals.
In This Review
- Key things to know before you go
- Why Thorong La (5,416m) changes the feeling of the whole trek
- Kathmandu to Dharapani: setting your pace for the trail ahead
- Day 2 into Chame (2,670m): forests, Bhote villages, and gradual climbing
- Chame to Upper Pisang (3,200m): the view shift you can feel in your legs
- Upper Pisang to Manang (3,540m): arriving with serious mountain scale
- Manang acclimatization day (Day 5, 4,050m): the smart rest that actually helps
- Manang to Yak Kharka (4,050m): getting used to the thinner air
- Yak Kharka to Thorong Phedi (4,450m): the pre-pass warmup day
- Thorong Phedi to Muktinath via Thorong La: the big day and the big payoff
- Day 9: Muktinath to Pokhara for the reset after the trek
- Price and value: what $456 per person is really buying you
- Planning details that make the trek feel smoother in real life
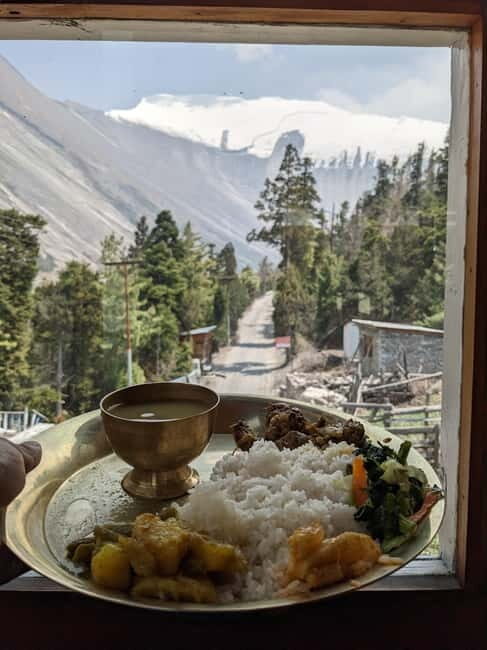
- Tea houses, meals, and the altitude reality check
- Best seasons, weather, and how to prepare without overthinking it
- Who this trek suits best (and who should pick another route)
- Should you book MTA Trekking’s Annapurna Circuit via Thorong La?
- FAQ
- What is the highest point on this Annapurna Circuit trek?
- How long is the tour and where does it start and end?
- Is this trek done with a guide?
- What’s included in the price of $456 per person?
- Do I need travel insurance?
- What’s the best time of year to go?
Key things to know before you go
- Crossing 5,416m at Thorong La is the signature moment, with a long, serious day from Thorong Phedi to Muktinath
- Manang (4,050m) includes a real rest day, plus optional short excursions to help you adjust
- Tea houses and lodge nights keep you moving, but comfort stays basic at altitude
- A government-registered local guide helps with the pacing and day-to-day decisions that matter at elevation
- MTA Trekking’s pre-trip communication gets credit for being responsive, and guides are praised for gear and confidence checks
Why Thorong La (5,416m) changes the feeling of the whole trek
This trek is built around one big altitude milestone: the pass at 5,416 meters. That does more than add drama. It changes how each day feels—slow and deliberate at first, then steadily more focused once you start walking higher and higher. You’re not just sightseeing. You’re training your body to handle thinner air.
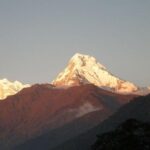
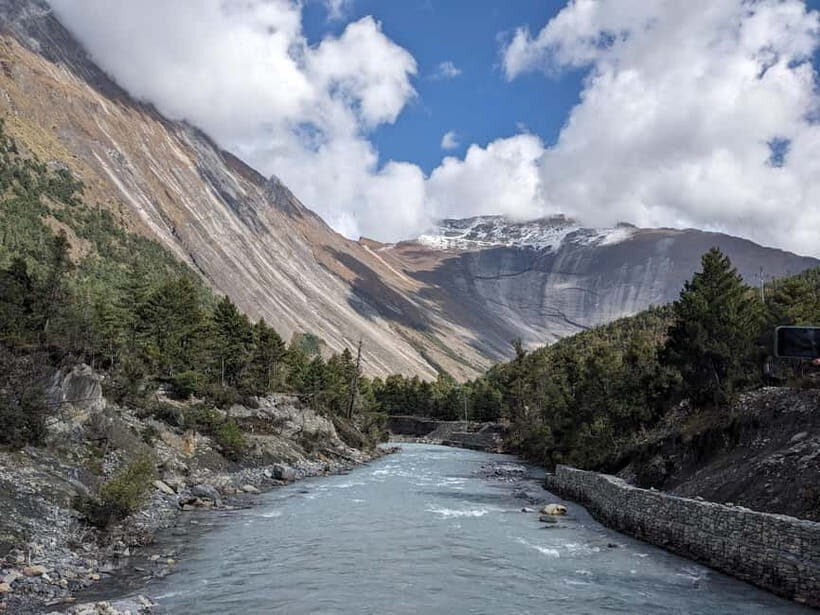
The itinerary also gives you the typical Annapurna Circuit mix: green valleys, pine-and-oak forest sections, then higher, drier terrain with Tibetan-influenced villages. That rhythm matters because it breaks the monotony. One day you’re thinking about warm forests and farm fields. Next, you’re seeing stark mountains and cold-air mornings.
You can also read our reviews of more hiking tours in Pokhara
Kathmandu to Dharapani: setting your pace for the trail ahead
You start in Kathmandu with an early pickup from hotels in the Thamel area. Then it’s a long scenic transfer toward Besisahar (about 7–8 hours), followed by a jeep ride onward to Dharapani.
Why this matters: the first day isn’t about fitness gains. It’s about getting your bearings and staying calm. A trekking route like this runs on consistency—if you burn energy on day one, it can show up later when you’re already tired at altitude.
Dharapani sits at about 1,900m, a useful launch point before you climb into the mid-hills. You’ll be ready for the next day’s upward push because the day’s main job was simply to get you to the trail.
Day 2 into Chame (2,670m): forests, Bhote villages, and gradual climbing
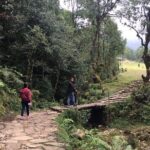
Day 2 goes from Dharapani to Chame (2,670m) in about 6 hours. The route passes through Bhote villages, along with oak and pine forests and wide agricultural pockets.
This stretch is where a lot of trekkers learn their pacing. You’re not at the extreme heights yet, but you can feel the climb. I like how Chame gives you a clear mid-point for adjustment: you get a satisfying uphill day, then a chance to settle into tea-house life before heading higher.
A practical note: in Nepal, temperatures can swing hard even when the sky looks bright. Layers help you keep walking comfortably without overheating.
Chame to Upper Pisang (3,200m): the view shift you can feel in your legs

Day 3 takes you to Upper Pisang (3,200m), roughly 5–6 hours. You’ll pick up big mountain views and make a stop in the Bhratang Valley.
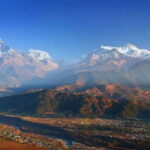
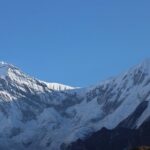
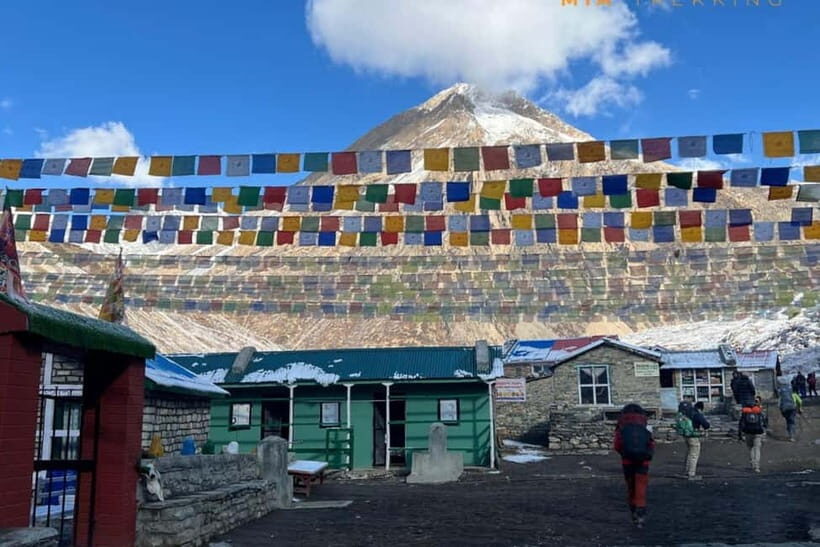
Upper Pisang is a good example of why this trek is more than a single climb. As you rise, the environment starts changing from lush valley greenery toward drier, rockier regions. The higher villages also feel different culturally. You’ll see the Tibetan influence more clearly, and the vibe becomes quieter and more high-altitude focused.
One drawback to keep in mind: every extra hour at higher altitude adds more strain, even when the trail is not technically hard. Don’t use this day to try to prove anything.
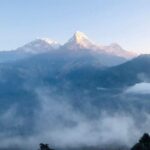
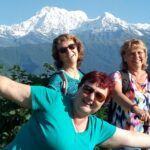
Upper Pisang to Manang (3,540m): arriving with serious mountain scale
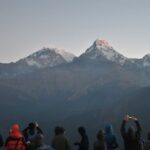
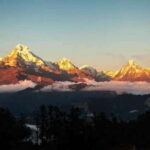
Day 4 reaches Manang (3,540m) after about 5–6 hours of trekking. This is one of the most rewarding approach days because the views start stacking up: Tilicho Peak, Annapurna III, and Annapurna IV.
You can think of this day as the transition from “green-to-mountain” into “now you’re living in the Himalaya.” Manang itself sits at 4,050m, so you’ll still need to manage altitude carefully even after arriving.
What makes Manang special is that it’s not only a town. It’s also a staging ground for acclimatization strategies. You’re also close enough to keep exploring without feeling forced into big climbs every day.


Manang acclimatization day (Day 5, 4,050m): the smart rest that actually helps
Day 5 is a rest day in Manang at 4,050m. You can stay relaxed, or you can choose an optional outing to Gangapurna Glacier Lake or nearby icefalls.
This is the day that can make or break your experience at Thorong La. Your body needs time to adjust, and the program gives it that time on purpose. The optional excursions are useful because they allow movement without turning the day into a punishment. Even if you don’t do the optional hike, just spending the day in Manang helps you reset.
Tip for you: if you feel restless, choose a short option and keep the pace easy. The goal is acclimatization, not heroics.
Manang to Yak Kharka (4,050m): getting used to the thinner air
Day 6 goes from Manang to Yak Kharka (4,050m) in about 4 hours. The walk is described as providing expansive mountain views while adjusting to the higher altitude.
This is a “less hours, more elevation” type of day. That combination can feel deceptive. You might be moving for fewer hours than earlier days, but the air is thinner and your breathing works harder.
This is also where I like to remind you about hydration and steady rhythm. Tea-house days can encourage you to eat well, then stop moving for too long. Keep your body moving gently and drink regularly through the day.
Yak Kharka to Thorong Phedi (4,450m): the pre-pass warmup day
Day 7 treks about 4–5 hours to Thorong Phedi (4,450m). You’ll cross bridges and gradually ascend to prepare for the Thorong La (5,416m) crossing.
Thorong Phedi is not the pass, but it’s the place where your whole plan turns into a countdown. You’re building to the highest day, so how you walk matters. The best approach is calm and controlled.
Practical value here: because the ascent toward the pass starts from a staging altitude, you’ll already be in a higher zone when your big day begins. That’s why the prior days are structured the way they are.
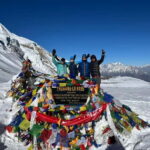
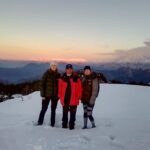
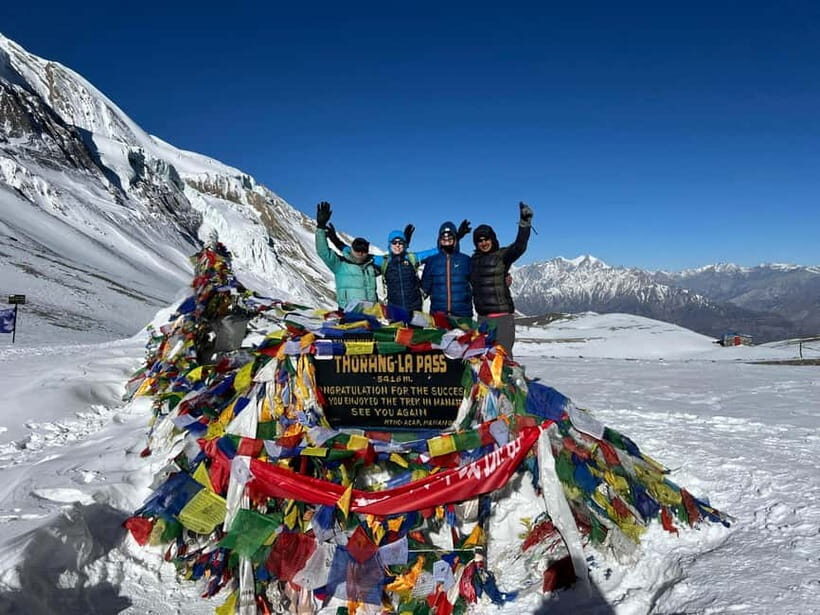
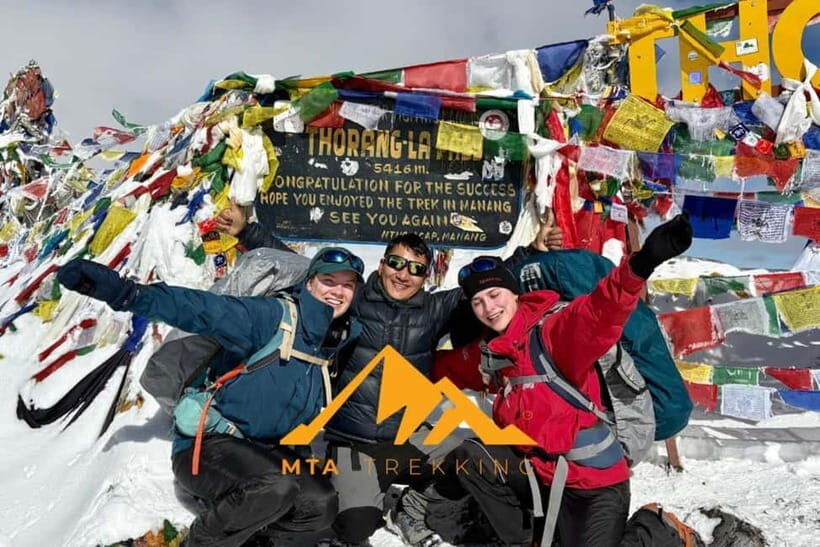
Thorong Phedi to Muktinath via Thorong La: the big day and the big payoff
Day 8 is 7–8 hours and is the heart of the trek: cross Thorong La (5,416m) and descend to Muktinath with panoramic views of the Mustang Valley.
This day demands respect. Even with a well-paced itinerary, Thorong La at 5,416m is a serious effort. The route is described as a high-altitude crossing followed by a long descent, so plan for both effort and fatigue.
What you’ll likely remember most is not only the height. It’s the transition: you move from an exposed, cold-feeling high route into the quieter, more settled world near Muktinath. Muktinath is an important pilgrimage site, so the atmosphere can feel spiritual and lived-in rather than purely scenic.
If you’re the kind of person who likes clear structure, this is also where a guide makes a difference. The guide’s job isn’t just route-finding. It’s timing breaks and helping you manage effort so you don’t arrive at the pass too spent to enjoy the moment.
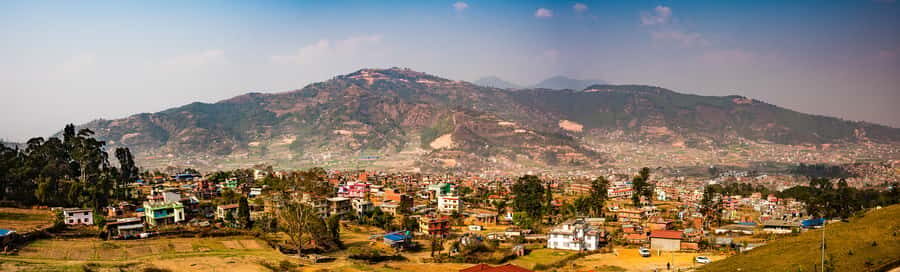
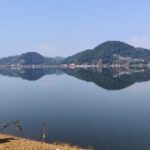
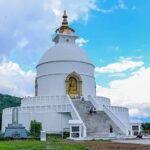
Day 9: Muktinath to Pokhara for the reset after the trek

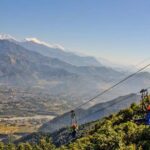
Day 9 is about getting your body off the trail and back into normal life. You drive to Pokhara by bus in roughly 8 hours.
Then you land in Pokhara for a real decompression. The package includes 1-night accommodation at Hotel Orchid in Pokhara and a farewell dinner after the trek. That matters because Pokhara can feel like a new world after days of simple tea-house routines.
Even if you’re tired, I find this part important. It lets you process the experience instead of jumping straight into your next schedule.
Price and value: what $456 per person is really buying you
At $456 per person, the main value isn’t just the trek itself. It’s the support around it.
Here’s what the price includes:
- Hotel pickup and drop-off in Kathmandu (Thamel) and Pokhara (lakeside areas)
- Permits and TIMS card
- All transport between destinations, including the public transportation from Kathmandu to Besisahar and Besishar to Dharapani by sharing jeep
- An experienced government registered local guide
- Tea house and lodge accommodations during the trek
- Pokhara lodging: 1 night at Hotel Orchid
- Farewell dinner
- Emergency rescue assistance
What isn’t included (and you should budget for):
- Travel and rescue insurance
- Soft and hard drinks and personal expenses
- Trekking gear (so check what you already own)
- Things like laundry, charging batteries, and bottle/boiled water depending on your needs
This is a case where “cheap” would be risky. Paying for guides, permits, and transport reduces uncertainty—especially important when you’re going above 5,000m.
Planning details that make the trek feel smoother in real life
This tour runs as a private group with a live guide in English and Hindi. There’s also reserve now & pay later, plus free cancellation up to 24 hours before departure, which is helpful if your plans are still flexible.
I also like that the trek starts with hotel pickups instead of making you navigate early transport on your own. When you’re tired and jet-lagged, that kind of friction matters more than you’d think.
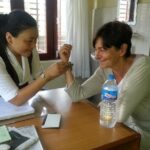
Communication seems to be a strong point with this operator too. In the feedback I reviewed, a person named Mr. Bijay was described as being in constant contact before departure. That kind of pre-trip clarity helps you arrive feeling ready instead of scrambling for basics.
Tea houses, meals, and the altitude reality check
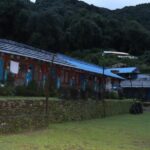
You’ll stay in tea house and lodge accommodations during the trek. Expect simple rooms and straightforward meals. This isn’t a luxury hike, and that’s part of the deal.
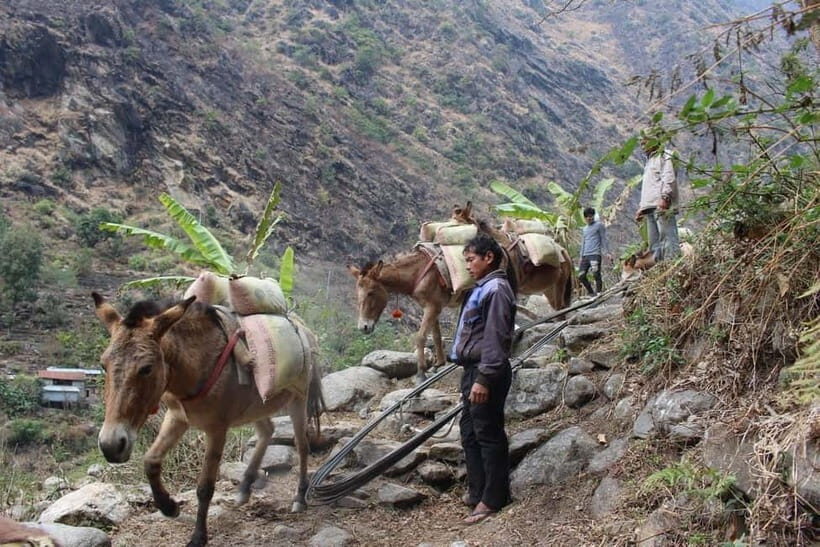
The upside: tea-house trekking keeps you connected to local services along the trail. You get a normal rhythm of sleep, eat, and rest without carrying everything.
The altitude reality check: this route includes sleeping and walking at high elevation, with the pass at 5,416m. The operator lists several situations where this trek is not suitable: pregnant women, people with altitude sickness, children under 7, and people with high blood pressure. If any of those apply, choose a different plan.
Also note the rules: alcohol and drugs are not allowed. That’s not just for policy. It helps keep you safer when you’re already relying on your body’s ability to recover.
Best seasons, weather, and how to prepare without overthinking it
The best times for this trek are spring (March–May) and autumn (Sept–Nov) for clearer skies and good visibility. Spring tends to feel warmer with flowers. Autumn is known for mild temperatures and strong views.
For timing, avoid the monsoon (June–Aug) if you can. The trail can get slippery from heavy rain. Winter (Dec–Feb) can be cold and snowy, and closures can happen.
What to bring is also clearly spelled out:
- Comfortable shoes
- Sunglasses and a sun hat
- Sunscreen
- Comfortable trekking clothes, including quick-dry layers
- Passport or ID card (copy accepted)
- Essential trekking gear like boots and layers, plus a sleeping bag
One more thing that’s worth your attention: the operator emphasizes good fitness and prior trekking experience. That doesn’t mean you need to be an athlete, but you should be prepared for long walking hours and sustained elevation changes.
Who this trek suits best (and who should pick another route)
This Annapurna Circuit via Thorong La is best for:
- Strong walkers who can handle long days and altitude
- People who want classic village-to-mountains variety, including Tibetan-style settlements
- Travelers who like a plan with built-in acclimatization and clear staging days
It may not fit you if you:
- Need lots of comfort and private facilities at night
- Have medical conditions where altitude is risky (the operator lists high blood pressure and altitude sickness)
- Are traveling with restrictions around alcohol or need a high degree of flexibility from day to day
Should you book MTA Trekking’s Annapurna Circuit via Thorong La?
If you want the full Annapurna Circuit experience with the big headline crossing at Thorong La (5,416m), this itinerary gives you what you need: pacing, a real acclimatization stop in Manang, and a clean end in Pokhara with a night at Hotel Orchid.
I’d book if you’re the kind of traveler who likes structure, understands that tea-house trekking means simple comforts, and can respect altitude limits. The guide support and organization are often highlighted, and the mention of a patient, gear-focused guide like Shishir suggests you’ll get the kind of day-to-day help that reduces stress on the hardest moments.
Skip it (or choose a different trip) if altitude is a concern for you or if you’re not ready for long walking hours. This isn’t the place for trial-and-error fitness.
FAQ
What is the highest point on this Annapurna Circuit trek?
The trek crosses Thorong La Pass at 5,416m on Day 8.
How long is the tour and where does it start and end?
It’s a 9-day trek that starts with pickup and transfer from Kathmandu and ends with transport to Pokhara after finishing in Muktinath.
Is this trek done with a guide?
Yes. You get an experienced government registered local guide. The live tour guide speaks English and Hindi.
What’s included in the price of $456 per person?
Included are hotel pickup and drop-off, permits/TIMS, all transport between destinations, tea house and lodge accommodations during the trek, 1 night at Hotel Orchid in Pokhara, a farewell dinner, and emergency rescue assistance.
Do I need travel insurance?
Travel insurance is not included. The tour data specifically notes travel and rescue insurance as not included, so you’ll need to arrange it yourself.
What’s the best time of year to go?
Spring (March–May) and Autumn (Sept–Nov) are listed as best for clear skies and great views. Monsoon season (June–Aug) is described as heavy rain and slippery trails, and winter (Dec–Feb) can be cold and snowy with possible closures.