REVIEW · KATHMANDU
Everest Base Camp with Gokyo Lake 17 Days
Book on Viator →Operated by Sunrise Adventure Trek P. Ltd · Bookable on Viator
A trek to the roof of the world starts with small choices. This one threads Sagarmatha National Park trail classics with the bigger detour to Gokyo Lake, plus a day that can target either Everest Base Camp or Kala Patthar for sunrise views. I like the way the schedule builds in acclimatization stops in Namche Bazaar, and I also like that the trip includes full trekking meals and even sleeping gear if you need it.
The main drawback is altitude, plain and simple, because you will pass high points like Cho La Pass and spend real time above 5,000m. You’ll want a moderate fitness level and a calm approach to pace, especially on the days that feel the most “steep and slow.”
In This Review
- Key points I’d circle before you go
- Why this Everest Base Camp + Gokyo Lake combo works
- Kathmandu warm-up: three-star comfort and an easy start
- Lukla day: flying in, then trekking out to Phakding
- Namche Bazaar: where acclimatization becomes the real skill
- Dole to Machhermo: higher steps, slower pace
- Gokyo: the lake and the day hike to Gokyo Ri
- Cho La Pass to Dzonglha: the serious middle day
- Lobuche and Gorak Shep: pushing toward Everest Country
- Everest Base Camp or Kala Patthar: choose your morning goal
- Tengboche and Monjo: monastery territory and the slower comeback
- Back to Lukla and Kathmandu: closing the loop
- Price and logistics: what you’re really paying for
- The service quality that keeps showing up
- Gear, fitness, and altitude reality (keep it practical)
- Who this trek suits best
- Should you book Everest Base Camp with Gokyo Lake?
Key points I’d circle before you go

- Gokyo Lake plus Everest on the same trek route, not a one-or-the-other itinerary
- Acclimatization in Namche Bazaar before you push higher
- Cho La Pass crossing with big day energy and a serious payoff
- Everest-country mornings: Everest Base Camp OR Kala Patthar depending on conditions and your plan
- Strong crew service highlighted by helpful guides like Pemba and Pasang in past trips
- Gear support when you need it, including sleeping bag and down-jacket on request
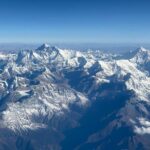
Why this Everest Base Camp + Gokyo Lake combo works
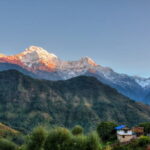
Most Everest treks focus on one line of scenery. This route gives you two different “wow” styles in one: the Everest approach with classic high camps, and the Gokyo side with lake views and a wider sense of the Khumbu region.
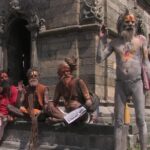
Gokyo Lake is the kind of place that makes people stop talking while they stare. It also sits on a different rhythm than the Everest-only trails, so you don’t feel like you’re walking the same story twice. The route also passes through key Sherpa communities and monastery territory, so the experience isn’t just altitude and air.
You can also read our reviews of more tours and experiences in Kathmandu.
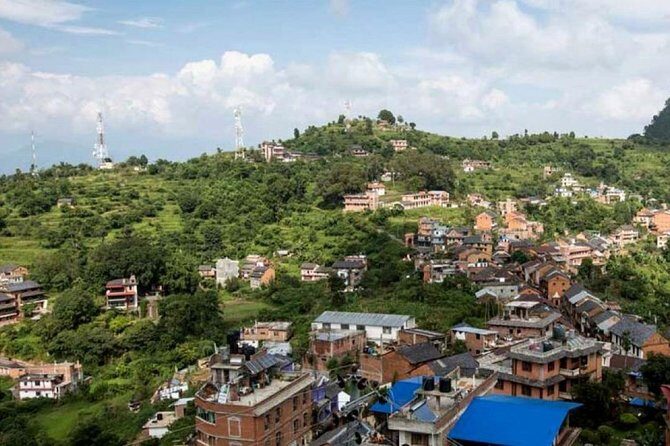
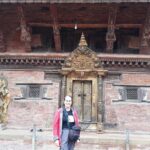
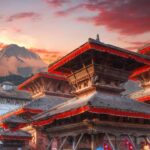
Kathmandu warm-up: three-star comfort and an easy start
You begin in Kathmandu with an airport pickup and a transfer to a three-star hotel in twin sharing rooms with breakfast. That matters more than you might think. After long flights, you want a clean bed, a hot shower, and a chance to get your gear sorted without rushing.
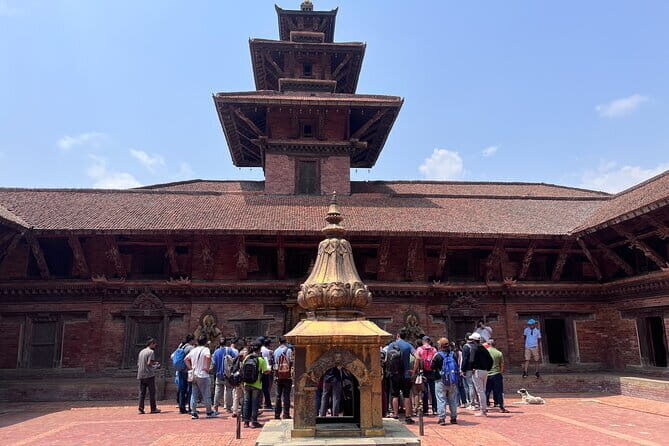
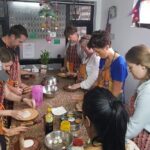
You also get a cultural show and a farewell dinner program. This is the part of the trip that lets your brain reset before you head for the mountains’ tight, quiet routine.
If you’re the type who needs to buy last-minute essentials (snacks, water bottles, extra warm layers), this is your moment. Meals in Kathmandu are not included beyond what your package covers, so plan for a few extra stops on your own.
Lukla day: flying in, then trekking out to Phakding
Getting to Lukla is part of the adventure, and the trek starts right after. Once you land, the rhythm shifts quickly from city life to trail life. You’ll trek to Phakding around 2,620m, which is a gentle on-ramp that still gets your legs moving.
This day is also your first reality check on timing. Flights and trekking schedules in the Khumbu can be tight, so you’ll want to keep your mornings calm and not pack them with extra plans. A guide and included transportation help here.
Namche Bazaar: where acclimatization becomes the real skill
You’ll reach Namche Bazaar around 3,420m and then get a rest/exploration day at about the same altitude. This stop is not just for sightseeing. It’s where you learn how your body handles less oxygen, and it’s where you practice the hiking style you’ll need later: steady effort, frequent short pauses, and no ego.
Namche is also a hub for the Everest region. You’re high enough to feel the altitude, but not so high that you’re stuck in survival mode. It’s a good place to check in with your guide, confirm your gear choices, and make sure you’re hydrating and eating normally.
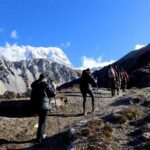
Dole to Machhermo: higher steps, slower pace
From Namche, you head deeper into the climb, reaching Dole (about 4,110m) and then Machhermo (about 4,410m). The trekking days are shorter in distance than you might fear, but the altitude does the heavy lifting.
You’ll notice the trails get quieter as you go. That’s a benefit if you like a more focused mountain feel. Still, plan for chilly mornings and evenings, even if daytime feels tolerable.
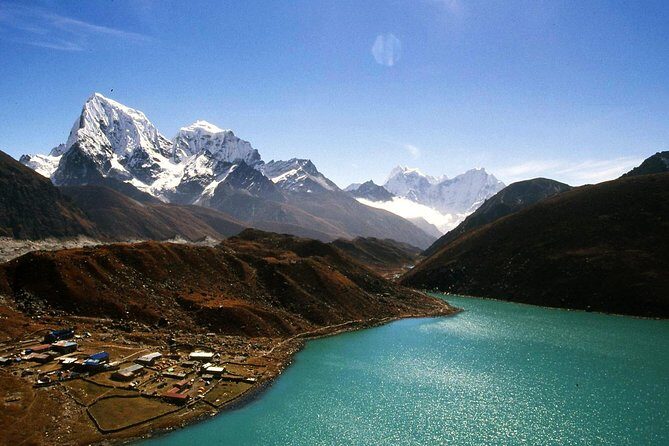
Gokyo: the lake and the day hike to Gokyo Ri
Now the trip turns toward its biggest detour. You trek to Gokyo around 4,760m, and from there you get a day hike to Gokyo Ri plus a move onward to Thagnak (around 4,678m).
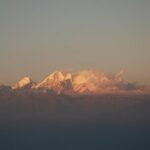
This is where many people fall in love with the route. Standing above the basin with views opening out in layers is a different kind of Everest buzz. Gokyo Ri is also a reminder that “rest day” doesn’t always mean easy. It’s more like smart exertion followed by a view reward.
If you’re wondering whether the extra lake time is worth it, your answer is usually yes by the time you see the basin from the higher point. The trek gives you the time to experience it instead of rushing past.
Cho La Pass to Dzonglha: the serious middle day
At some point, Everest routes stop being “trekking” and start being “a mission.” This route hits that mission with a crossing via Cho La Pass (around 5,420m) to Dzonglha.
Days like this matter because they set your confidence for the rest of the trek. You’re high, you’re moving in cold air, and weather can change quickly. Your best strategy is simple: slow steps, consistent breathing, and listening to your guide’s pacing advice.
The payoff is that the trail begins to feel like proper Everest territory afterward—more dramatic air, more rugged camp mood, and a stronger sense of being inside the mountain world rather than just visiting it.
Lobuche and Gorak Shep: pushing toward Everest Country
You’ll continue to Lobuche (about 4,940m) and then Gorak Shep (around 5,147m). This is a key transition area: you’re now near the zone where mornings start early and cold becomes a real factor.
Gorak Shep is also the staging point for your “big morning.” The idea isn’t just to get there. It’s to arrive ready: legs intact, hydration kept up, and sleep protected as much as possible so you can handle the next step.
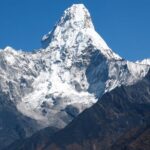
Everest Base Camp or Kala Patthar: choose your morning goal
On the morning at around 5,365m, you’ll hike either to Everest Base Camp (about 5,365m) or Kala Patthar (about 5,550m), then trek down to Pheriche (around 3,950m).
This is one of the best features of the trek because it gives you an options mindset. Everest Base Camp is the classic goal: you’re reaching the symbolic heart of the Everest climbing world. Kala Patthar is higher and tends to be the sunrise/view-focused pick.
You also get the benefit of descending after that big morning. Dropping to Pheriche isn’t just comfortable—it’s useful recovery. It helps you keep your energy for the final stretch back through Sherpa villages.
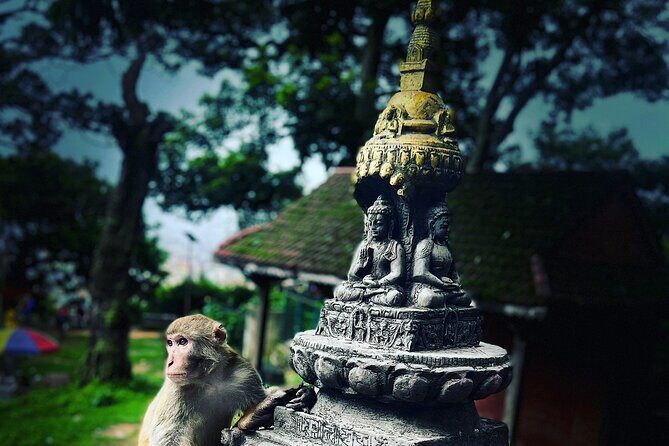
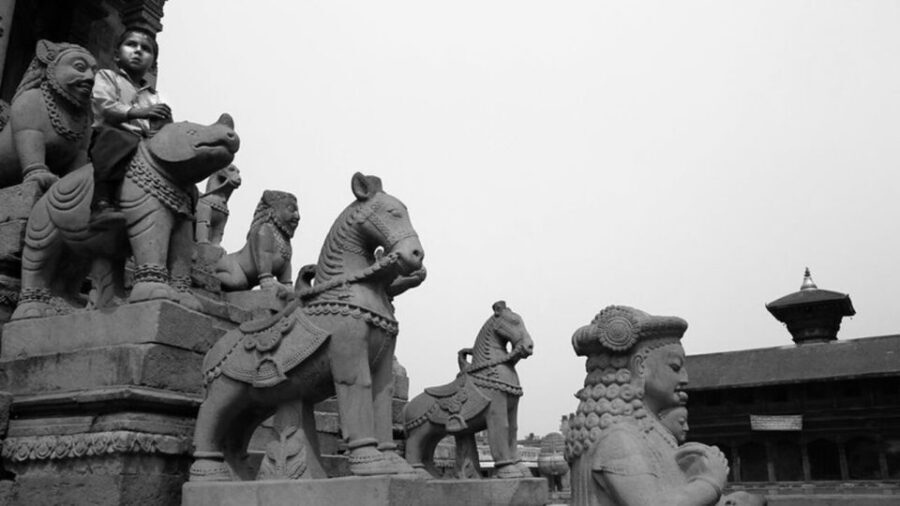
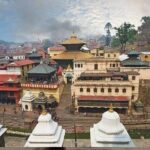
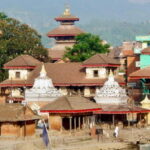
Tengboche and Monjo: monastery territory and the slower comeback
After Pheriche, you’ll trek to Tengboche (around 3,860m) and then onward to Monjo (around 2,635m). This part of the route feels like a change in tempo: less altitude drama and more village-and-mountain rhythm.
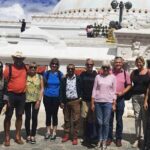
Tengboche is a highlight because the trek route includes the Khumbu region’s biggest monastery area. Even if you don’t go deep into religious details, the setting is powerful—mountains towering above a sacred, community-centered space.
As you descend toward Monjo, you can feel the air getting easier to breathe. The scenery remains impressive, but the main difference is that you start moving with more confidence.
Back to Lukla and Kathmandu: closing the loop
You’ll trek back to Lukla (around 2,840m), then fly to Kathmandu. This return is when you appreciate the structure of the whole plan. Coming down reduces the risk factors that come with ongoing high-altitude time, and it also helps you land back in the real world with your stamina still intact.
Your trip concludes in Kathmandu and you depart after the final day. It’s a satisfying finish because you’re not just “done”—you’ve come full circle from Lukla into the Everest/Gokyo system and back again.
Price and logistics: what you’re really paying for
At $1,480 per person, the value here is in what’s bundled, not in what’s missing. Your package includes airport pickups and departures, transportation (including the key mountain flights), Kathmandu hotel nights (three-star category), and whole-trip accommodation during trekking in trekking lodges.
Meals are also a big deal: during the trek you get breakfast plus lunch and dinner as listed in the plan, along with tea/coffee. That reduces daily decision-making when you’re tired and high-altitude hungry.
Permits are included too: trekking permit and TIMS card. Plus you get a guide (with guide salary, accommodation, meals, and insurance covered) and porter support. For two guests, the package includes one Sherpa porter to carry baggage, which keeps the trek more manageable when the air is thin.
Where the value is not perfect is where most packages are the same: international flights, travel insurance, and tips are not included. Also, extra meals in Kathmandu and personal expenses are on you. If you budget those pieces up front, the overall price starts to feel more fair.
The service quality that keeps showing up
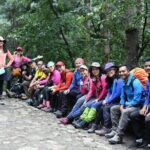
The best praise in past trips isn’t about magic. It’s about people working well together.
Guides named in feedback include Pemba and Pasang, both described as helpful and friendly, with porters also credited for strong support. In a trek like this, that matters because the difference between good and bad days often comes down to pacing, encouragement, and smooth logistics.
It also helps that gear support is offered if you need it—sleeping bag and down-jacket during the trek. That’s a comfort-and-safety factor. If you don’t want to bring bulky winter gear from home, you’ll appreciate the option.
Finally, there are the small extras: a T-shirt, a trip achievement certificate, and the first-aid medicine item. These aren’t the reason to do the trek, but they make the whole package feel more complete.
Gear, fitness, and altitude reality (keep it practical)
This trek expects moderate physical fitness. That doesn’t mean you need to be a mountain athlete, but you do need to be comfortable walking several hours with a slow pace on steep terrain.
Altitude is the main thing to respect. You’ll be above 5,000m during the Everest-country approach and cross a high pass. The schedule builds in acclimatization with a rest/exploration day at Namche Bazaar and a lower-altitude start before you get high.
Pack smart. Layering is key, and if you’re unsure about cold-weather gear, the included sleeping bag and down-jacket option can solve a major headache. Bring your own daypack comfort items if you have preferences, but don’t overpack. Heavy loads are the enemy at altitude.
Health-wise, the package includes first aid medicine items, but it does not replace common-sense habits. Hydrate, eat on schedule, and don’t treat pain or severe symptoms like stubbornness.
Who this trek suits best
This tour is a strong fit if you want:
- The classic Everest experience plus the distinct Gokyo Lake payoff
- A supported trek with meals, permits, guide, and porter help
- A route that doesn’t rush acclimatization
- A cultural add-on before and after the trek
It’s also a good match if you enjoy the Sherpa village experience as much as the summit dream. Tengboche and the monastery area help keep the trip grounded in the region’s real culture, not just peaks.
If you’re only chasing one target view and you don’t care about lake time, you might feel this route is more than you need. But if you want more variety in one journey, it’s built for you.
Should you book Everest Base Camp with Gokyo Lake?
I’d book this trek if you want the “two-feature” version of Everest: Gokyo Lake plus Everest Base Camp/Kala Patthar. The itinerary’s acclimatization built around Namche and the support structure (meals, permits, guide, porter) makes the whole plan feel more doable.
Skip it or look closer if you know altitude hits you hard, because this route includes high points like Cho La Pass and long time in thinner air. Also, make sure you budget for what’s not included: Kathmandu extra meals, international flights, travel insurance, and tips.
If you’re ready for a serious trek with strong human support, this is the kind of route that leaves you with more than one kind of mountain memory.