REVIEW · KATHMANDU
Gokyo-Ranjo Pass Trek On 16 Days (Cheapest Trip On Nepal)
Book on Viator →Operated by Dream Himalaya Adventures Pvt Ltd · Bookable on Viator
A door opens into big-mountain Nepal. This Gokyo–Renjo Pass trek uses a mountain flight to Lukla, then strings together classic Khumbu villages and quieter paths through the Gokyo valley. I especially like the way it builds altitude step by step with real acclimatization stops, and I love that you get set up with trekking gear support like a rental sleeping bag and down jacket. One thing to consider: you’re committing to a long, high-altitude trek with a serious flight element around Lukla weather.
What I really liked is the focus on the less crowded side of the Everest region. You leave the main Everest route after Namche, visit Sherpa landmarks like Khumjung, and then spend real time around Gokyo—where the scenery feels wider and the pacing feels more relaxed than the busiest trails.
The possible drawback is logistics at altitude and in the air. The trek includes flying Lukla, and even though there’s an emergency day built in, delays can still rearrange your days and make you pack mentally for uncertainty.
In This Review
- Key things that make this trek work well
- Flying into Khumbu, then following the Dudh Koshi
- Namche Bazar and the Sherpa villages: more than just photo stops
- Dole to Machhermo: the acclimatization block that pays off later
- Gokyo Lakes and GokyoRi: the view day you’ll remember
- Renjo La to Namche to Lukla: finishing strong, not wrecked
- Day 15 and the reality of Lukla weather
- Lodging and food: what “high quality and hygienic” means on trek
- What the $2,100 covers, and where you might feel extra costs
- Guides, pacing, and why names like Pema and Kami matter
- Practical packing tips for the real work days
- Who this trek suits best
- Should you book this Gokyo–Renjo Pass trek?
- FAQ
- What’s the start point and start time for this trek?
- How long is the Gokyo–Renjo Pass trek?
- Is this a private group experience?
- What are the key high points on the route?
- What’s included for trekking gear?
- What meals and drinks are included?
- What’s the cancellation window?
Key things that make this trek work well
- Lukla flight as a time-saver: fewer driving days, more time on trail and viewpoints
- Quieter Gokyo valley routing: you’ll miss some of the heaviest foot traffic on the main Everest trail
- Built-in acclimatization logic: stops at Machhermo plus a full rest/day-hike day help your body adjust
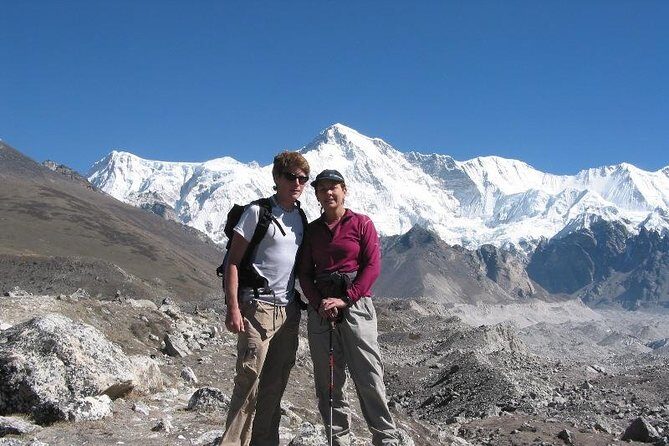
- Two major high points: GokyoRi (5483m) plus Renjo La (5340m) for wide panorama rewards
- Gear support included: trekking sleeping bag and down jacket on a rental basis, plus a trek duffle bag
- Local team coverage: an Experience Sherpa Trek Guide, porters, and first aid kit on trek
Flying into Khumbu, then following the Dudh Koshi
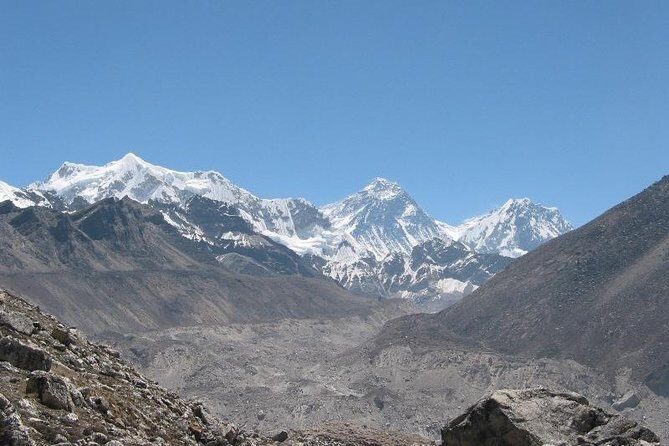
This trip starts in Kathmandu, but it quickly trades city routines for mountain rhythm. After your arrival and a proper briefing, you fly to Lukla (2840m) on Day 3. That flight is your first real taste of the Khumbu region, and it also acts like a shortcut that gets you onto the trekking schedule faster than overland routes.
From Lukla you walk to Phakding (2610m). It’s not a grinding day, but it matters because it helps your legs learn the trail feel without throwing you straight into steep altitude gain. You then continue along the Dudh Koshi, the Milk River that threads through this whole area and keeps the scenery moving day after day.
One practical note: start time for the trip is 5:00am at Tribhuvan Airport. If you’re the type who hates rushing, build in early margin the day before so you’re not playing catch-up with check-in and airport procedures.
You can also read our reviews of more hiking tours in Kathmandu
Namche Bazar and the Sherpa villages: more than just photo stops
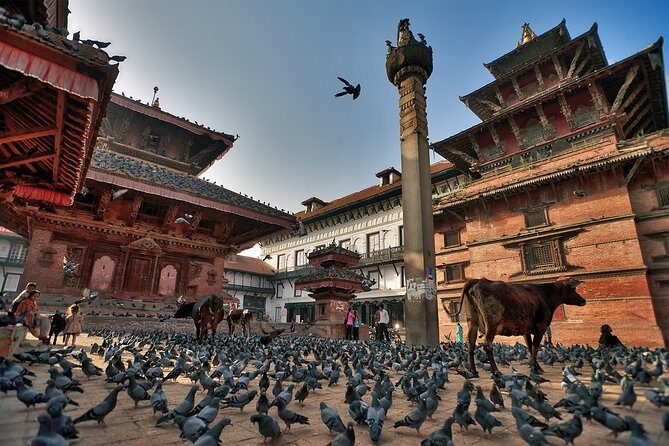
Day 4 brings you to Namche Bazar (3440m) after about five hours. Namche is the Sherpa hub of the region—full of trail energy, guesthouses, shops, and constant movement. It’s also a good place for your brain to register the altitude reality. You’re already higher than you were in Lukla, and the air feels different.
On Day 5, you switch gears and head toward Khumjung (3840m). This is a short walk (around three hours), which is exactly what you want here—time to settle in without overcooking your system. Khumjung is also a Sherpa village area that gives you a different feel from the main Everest trail. You’re still in the same general story, but it feels more focused and less crowded.
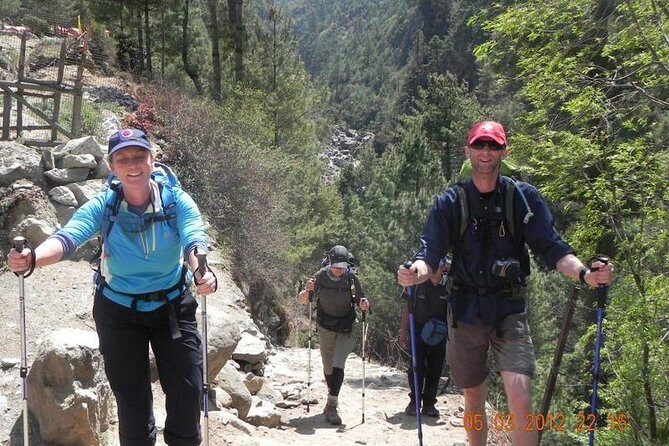
The trip then prepares you for the next phase: leaving Khumjung and moving toward Dole (4200m) on Day 6. That day walk is listed at about five hours, and it’s one of your first bigger altitude steps after Namche and Khumjung. Expect more uphill time, and don’t treat it like a race.
Dole to Machhermo: the acclimatization block that pays off later
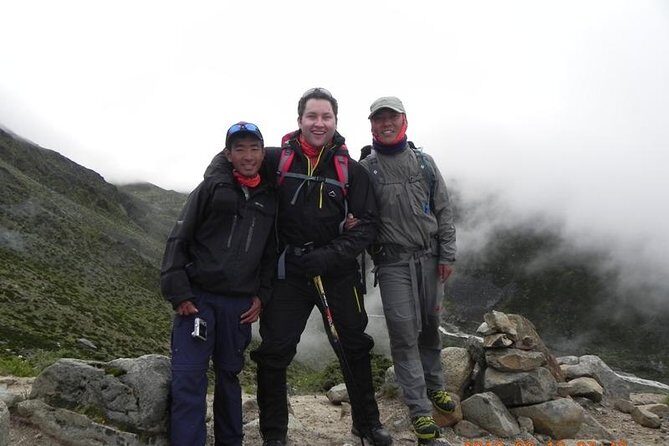
Dole to Machhermo (4470m) on Day 7 takes about four hours. It’s a climb, but it’s also a deliberate transition into the higher Gokyo approach. By this point, you’re in the zone where your breathing changes, so the guide’s pacing matters. This is where you’ll feel the difference between a trek that’s “tough” and one that’s “smart.”
Day 8 is one of the trip’s best design features: a day hike and rest day at 4470m. Instead of pushing higher immediately, you get time to recover and check your acclimatization. If you’re prone to altitude headaches, this kind of pause is often the difference between enjoying the mountains and spending the day regretting your choices.
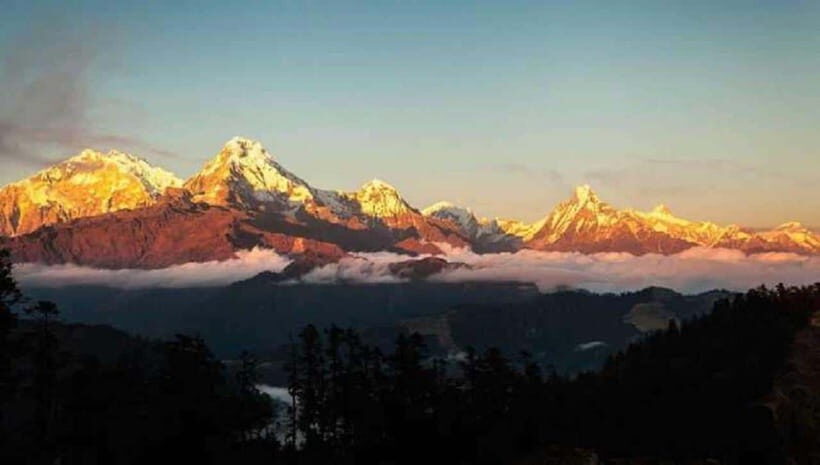
You then continue to Gokyo on Day 9 (4790m) for about four hours. This is where the Gokyo valley starts to open up. The air is thinner, but the views start to feel bigger in a way that’s hard to recreate later on lower ground.
Gokyo Lakes and GokyoRi: the view day you’ll remember
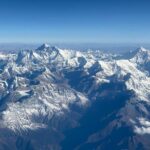
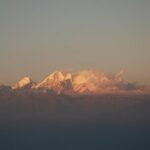
Day 10 is a day trip to GokyoRi (5483m). That’s a big altitude jump in one outing, so it’s not just a “pretty hike.” It’s a payoff for the slow build you’ve been doing since Lukla. When you reach higher viewpoints like this, you’re usually looking across multiple layers of the Khumbu—peaks, ridges, and the broader valley forms that make the Everest region feel like a massive scale model.
After that, Day 11 turns into a major crossing day. You go over Renjo La (listed as 5340m), then trek to Lungden (4400m) in about six hours. This is one of the harder segments because it combines altitude exposure with sustained walking. The upside is that Renjo La is known for panoramic mountain views, and the descent afterward gives your body a chance to settle down.
Renjo La to Namche to Lukla: finishing strong, not wrecked
Once you reach Lungden, Day 12 returns you toward Namche (3440m) in about five hours. That descent is your friend. Even though you’ll still work, your body will get to breathe a bit easier, and your mind will get momentum again.
Day 13 brings you back to Lukla (2840m) for about six hours. This is another “long walk, less altitude stress” day, and it’s a common point where people either finish with good energy or feel tired in a way that surprises them. The trick is not to speed up too much during the descent. Your knees will thank you later.
On Day 14, you fly back to Kathmandu and enjoy the evening celebration meal. This is a nice ending step. It’s the moment where the trek becomes a story instead of a daily grind.
Day 15 and the reality of Lukla weather
Day 15 is a free day and also an emergency day for the Lukla to Kathmandu flight. That matters because Lukla flights can be weather-sensitive. Having that buffer is the difference between a minor hiccup and a trip that turns into a logistical nightmare.
Day 16 is simply transfer to the airport for onward travel or an optional extension. In other words: no last-minute chaos. You get to leave feeling like you completed the route, not like you survived it.
Lodging and food: what “high quality and hygienic” means on trek
The trek includes meals (breakfast, lunch, dinner) and hot drinks like tea, coffee, and hot chocolate, plus treated drinking water. That’s important because on multi-day treks, nutrition and hydration aren’t optional. They’re your altitude insurance in practice.
You’ll sleep in 3-star hotels in Kathmandu (three or four nights are included, twin sharing, bed-and-breakfast). On the trek itself, you’ll typically be in guesthouse-style lodging. The exact standard varies by place and season, but the overall structure is built around being well-fed and kept comfortable enough to sleep well.
One practical thing to plan for: bottle water and some drink types are listed as not included. If you like to buy your own water anyway, keep a small budget ready. If you’re okay with treated drinking water, you’ll likely manage costs better.
What the $2,100 covers, and where you might feel extra costs
For $2,100 per person, this isn’t a bare-bones trek. You’re paying for the full system around the walking days. Included items that usually save you real money and hassle are:
- trekking permits and conservation/national park fees
- private airport/hotel transfers in Kathmandu
- all trekking meals plus hot drinks and treated water
- an Experience Sherpa Trek Guide and support team with porters
- trek duffle bag for each member
- trek first aid kit
- rental trekking sleeping bag and down jacket (on a rental basis)
- half-day world heritage sites tour with guide and private transport in Kathmandu
What’s not included is also clear. You’ll still need to budget personal trek gears, tips to the local staff, bottle water/boiled water and soft drinks, and major meals in Kathmandu. Most importantly, the trip notes that you need medical/personal high-risk insurance covering emergency evacuation. The local team’s insurance coverage is included, but your own evacuation plan is on you.
In plain terms: the cost feels fair if you want a guided, organized trek without hunting around for permits, logistics, and gear rentals at the last minute. If you already own everything and you’re comfortable organizing flights and permits yourself, you might compare costs elsewhere. But if you want less stress, this package fits that goal.
Guides, pacing, and why names like Pema and Kami matter
One of the best parts of this trekking style is the human side: a Sherpa guide plus porter support. The trip uses an Experience Sherpa Trek Guide, and the past trekking experiences shared here include guides such as Pema and Kami. When the guide is familiar with the terrain and how your group is handling altitude, the trek feels smoother and safer.
Pacing is everything on this route. You get several days that are shorter or structured for recovery, like the Khumjung day, the Machhermo rest/day hike, and the staged movement toward Gokyo. That isn’t just kindness—it’s how you protect your stamina for the high viewpoint days like GokyoRi and the Renjo La crossing.
Also, the included first aid kit and support structure helps you feel looked after. You’re not traveling alone out there.
Practical packing tips for the real work days
The information you have is mostly about what’s included, but you can still pack intelligently:
- Bring your own personal trek gears (the trip explicitly doesn’t include this)
- Plan for cold at altitude. The rental down jacket helps, but you’ll still want layers and gloves if you run cold
- Use the provided trek duffle bag system so your load stays manageable
- Expect early mornings on key days, especially with the high viewpoint outings
If you hate the idea of being cold at 5000m+, prioritize a good base layer and a warm outer layer. Even on clear days, the wind can change your comfort fast.
For walking poles: not mentioned in what’s included, so bring your own if you already use them. They can be helpful on steep descents like the post-Renjo La sections and the longer return days.
Who this trek suits best
This trek is designed for people with strong physical fitness who want a classic Everest-region experience with a quieter twist. It’s ideal if you:
- want the big Everest-area highlights but prefer a route that gets away from the busiest main trail
- like gradual altitude progression with a dedicated acclimatization day at Machhermo
- enjoy hiking with a guide and support team rather than self-arranging everything
- want high viewpoints: GokyoRi and Renjo La
It may be less suitable if you’re new to high-altitude trekking or if you’re not comfortable with long walking days and cold temperatures. The trip does note travelers should have strong fitness, and the elevation profile supports that.
Should you book this Gokyo–Renjo Pass trek?
If you want a well-organized, guided route that hits the best-view targets—without spending the whole time on the busiest Everest path—this one makes a lot of sense. The combination of Lukla flight efficiency, Sherpa village flavor, and a purposeful acclimatization block at Machhermo is a winning formula.
I’d book it if you want value that goes beyond just the walk: permits, guides, porters, trekking meal plan, Kathmandu lodging, and gear rentals for sleeping bag and down jacket. You’re paying to reduce decision fatigue.
I’d think twice if you’re overly sensitive to flight timing or you don’t handle altitude well. But that’s not a dealbreaker if you’re physically ready and you take acclimatization seriously.
If you’re ready for a serious but rewarding 16-day trek, Gokyo–Renjo Pass is the kind of itinerary that tends to leave people talking for years.
FAQ
What’s the start point and start time for this trek?
The trek starts at Tribhuvan Airport in Kathmandu, Nepal, with a listed start time of 5:00am.
How long is the Gokyo–Renjo Pass trek?
The duration is listed as 16 days (approx.).
Is this a private group experience?
Yes. It’s described as a private tour/activity, so only your group will participate.
What are the key high points on the route?
The itinerary includes a day trip to GokyoRi (5483m) and a crossing over Renjo La Pass (5340m).
What’s included for trekking gear?
A trek sleeping bag and down jacket are included on a rental basis. You also get a trek duffle bag to each trek member.
What meals and drinks are included?
All meals of high quality and hygienic are included (breakfast, lunch, dinner), along with hot drinks and treated drinking water. Some bottled/boiled water and soft drinks are not included.
What’s the cancellation window?
Free cancellation is available up to 24 hours in advance of the experience start time for a full refund.