REVIEW · KATHMANDU
Everest Base Camp trek- 11 days
Book on Viator →Operated by Mount Face Nepal · Bookable on Viator
Everest Base Camp starts with a tiny plane. This 11-day trip lines up Lukla flights plus guided trekking through Sherpa towns like Namche and Tengboche, with Big Everest views built into the schedule. I especially like that your days are paced for altitude, not just checkmarks, and that meals and key permits are handled so you can focus on the trail. One consideration: this price covers the trek package, but you still need to budget for items like your Kathmandu hotel/extra meals, drinks, visa, and tips.
If you’re trying to plan a trip where the logistics don’t eat your energy, this one is set up for that. Pickup is offered from Thamel for the Lukla flight day, and the tour is run as a private group, so you’re not stuck in a large scramble. For many first-timers, the biggest “gotcha” isn’t the difficulty—it’s packing the right expectations for altitude and what’s included versus not included.
In This Review
- Key Things I’d Plan Around
- Lukla Flight Day 1: Your altitude reality check, right away
- Phakding to Namche Bazaar: turning a climb into a culture stop
- Tengboche: monasteries, Everest views, and a calmer kind of altitude
- Dingboche and Lobuche: altitude gains that demand patience
- Gorakshep, Everest Base Camp, and the icefall atmosphere (Day 7)
- Kalapathar viewpoint and the descent: trading height for comfort (Day 8)
- Back through Pheriche, Namche, and Phakding: finishing strong (Days 9-10)
- Day 11 flight to Kathmandu: planning for the last big transition
- Price and Logistics: what $1,699 covers (and what you must add)
- Guides and porter setup: why support matters more than people admit
- Who should book this Everest Base Camp trek?
- Should you book Mount Face Nepal for Everest Base Camp?
- FAQ
- How long is the Everest Base Camp trek?
- What does the tour price include?
- Do I need trekking permits and a TIMS card?
- Is pickup offered in Kathmandu?
- Will I have porter help with baggage?
- Is travel insurance included?
Key Things I’d Plan Around
- Lukla flight + early start from Kathmandu: your first day is built around getting airborne and settling into the trekking rhythm.
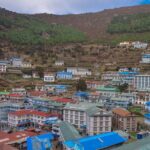
- Acclimatization in Namche Bazaar (3,435m): a full day there helps your body adjust before higher villages.
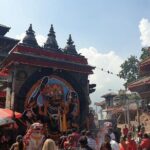
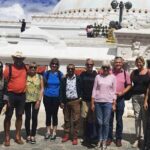
- Tengboche monastery timing: this stop pairs spiritual sites with dramatic views of the Khumbu region.
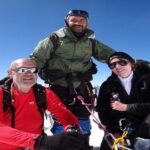
- High-point day for Kalapathar: you’ll push higher near the end for classic Everest sightlines, then descend.
- Porter support for your baggage: typically 1 porter for 2 clients, so you can keep your essentials easier.
- Meals and key permits are included: full board during the trek, plus TIMS and trekking permits in the restricted-area mix.
Lukla Flight Day 1: Your altitude reality check, right away
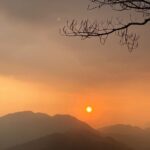
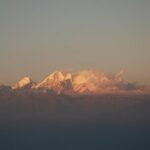
Day 1 is a one-two punch: a Kathmandu-to-Lukla flight (Lukla sits around 2,850m) followed by a hike to Phakding (about 2,660m). That drop in elevation after landing is smart, because it helps you settle in without starting the trek at maximum effort. You’ll also get the classic early-morning feel for the Everest region—snow peaks in the window, and that immediate sense of place.
The practical win here is how much the company handles before you even put on trekking boots. Pickup and drop to the local airport are included, and you’re using a mobile ticket-style setup for the trip. For planning, that means less guessing and fewer last-minute phone calls when schedules are tight.
Why I like this start: it’s not just transportation; it’s a controlled introduction to altitude. Even if you feel strong that first day, the key is to keep the pace easy so your body doesn’t revolt later.
What to watch: you’re still going from Kathmandu into big elevation changes fast. If your fitness is only moderate, you’ll want to take Day 1 slow and let your breathing settle.
You can also read our reviews of more hiking tours in Kathmandu
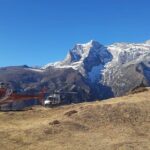
Phakding to Namche Bazaar: turning a climb into a culture stop

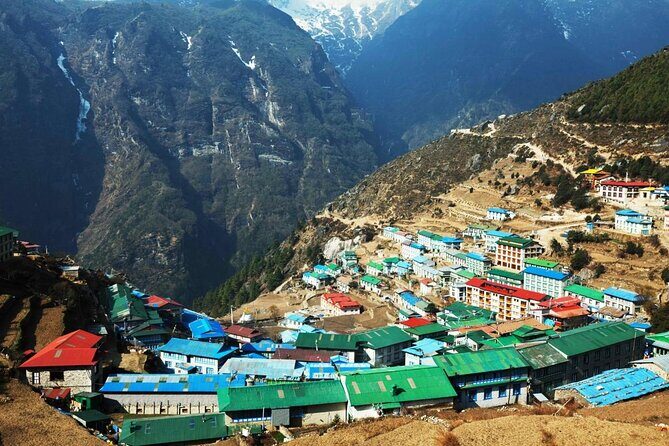
Day 2 walks you from Phakding to Namche Bazaar (around 3,435m). Namche is the gateway town for Everest Base Camp, and it’s where the trekking becomes more than “moving uphill.” You start seeing Sherpa home-town life, lodges, and the rhythm of people who live with the mountains every day.
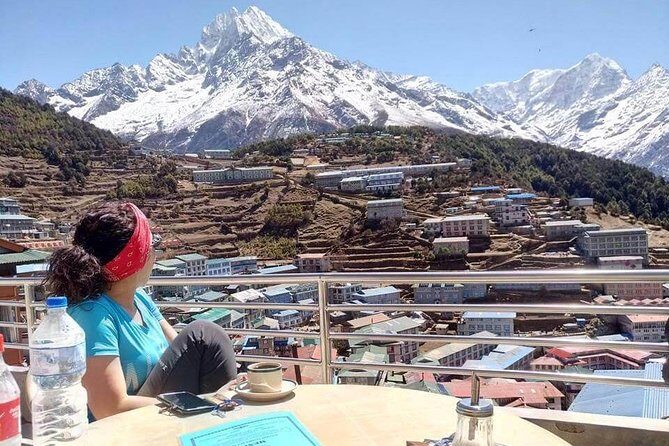
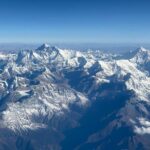
Day 3 is the acclimatization day in Namche, which matters more than most people think. You’re not just adding a day; you’re giving your body a chance to handle higher air and keep your trekking safer and more comfortable. This is also where you’ll find monasteries and those standout views of Everest-area peaks—Mt. Everest, Lhotse, Nuptse, and nearby landmarks in the Khumbu region.
Why I like the Namche structure: it reduces the temptation to push too hard on the first big elevation jump. Many trekking problems start when people treat altitude like it’s just another hill. Namche’s extra day is a built-in “slow down and adjust” buffer.
Possible drawback: you’ll spend a full day at altitude without “major progress” on a map. If you love nonstop movement, this can feel like a pause—but it’s a useful pause.
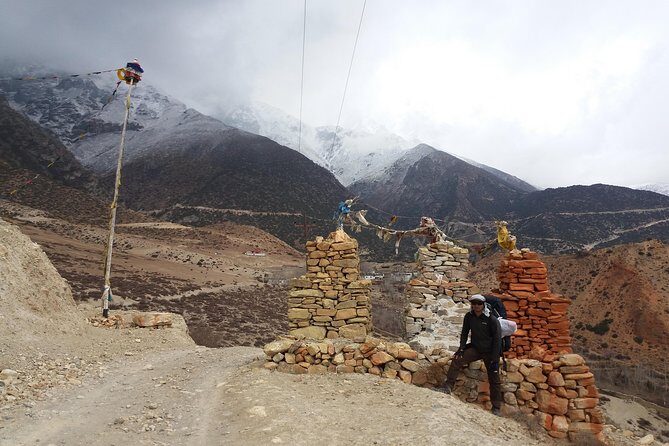
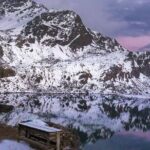
Tengboche: monasteries, Everest views, and a calmer kind of altitude
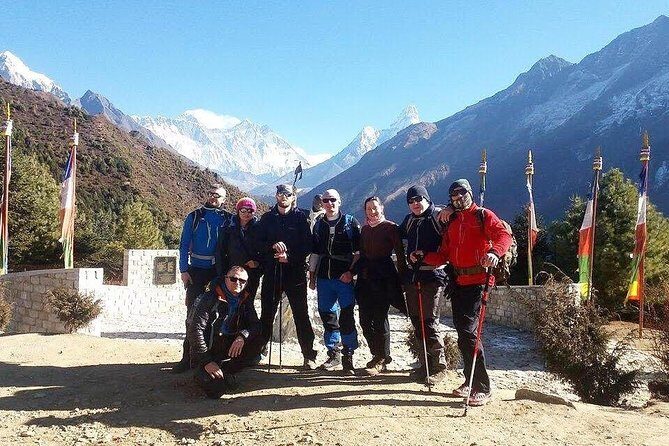
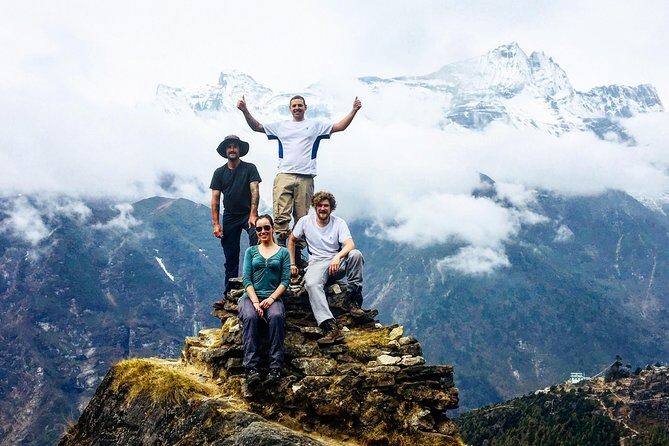
Day 4 goes from Namche to Tengboche (about 3,890m). Tengboche is famous for its monastery setting, and this stop adds a cultural layer to the physical work of the trek. You’ll also be in a prime position for mountain sightlines that make the effort feel real—especially for views toward Everest’s massif and surrounding peaks.
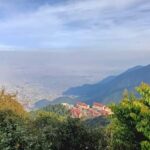
This is the day where the trek often shifts from “I’m hiking in the Himalaya” to “I’m seeing the Himalaya at work.” The Khumbu region has a specific feel: steep valleys, villages tucked into slopes, and a constant sense of scale. Having Tengboche in the itinerary gives you a spiritual and visual break without losing momentum.
What to love here: the combination of a Tengboche monastery visit and panoramic mountain angles. It’s one of those places where the scenery isn’t just pretty—it’s meaningful.
What to watch: you’re getting higher again. Even if the day feels scenic, keep your pace controlled and avoid sprinting for photos.
Dingboche and Lobuche: altitude gains that demand patience
Day 5 moves Tengboche to Dingboche (about 4,400m). Dingboche is a higher-altitude village where the air gets thinner and every decision—slow steps, hydration, rest—starts to matter. Day 6 continues on to Lobuche (around 4,910m), pushing you further into the Everest Base Camp zone.
These two days are where your “moderate physical fitness” standard gets tested in a very honest way. The itinerary doesn’t skip the hard altitude climb; it just spreads it with intention. The goal is to help you arrive at the later days feeling capable, not smashed.
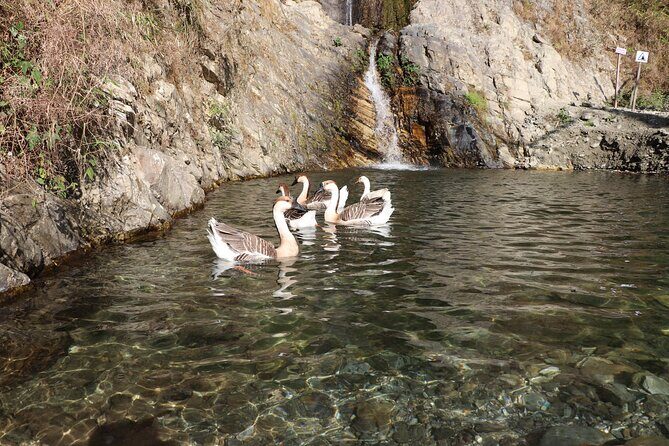
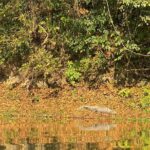
You’ll also be moving through an area closely linked to the Khumbu Icefall zone and the broader natural park environment mentioned as part of the trek experience. That’s where wildlife and the raw geography of the mountains become part of your day-to-day awareness. You might not see animals every hour, but you’re walking in terrain that’s alive and actively shaped by weather and ice.
Why this section is valuable: it trains you how to trek at altitude before the big push days. You learn to eat, rest, and keep going without panic.
Main consideration: Lobuche sits high, so if you try to “win” the route by moving fast, altitude will punish the overconfidence.
Gorakshep, Everest Base Camp, and the icefall atmosphere (Day 7)
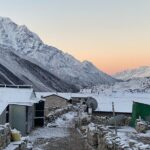
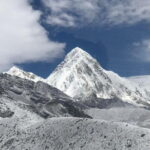
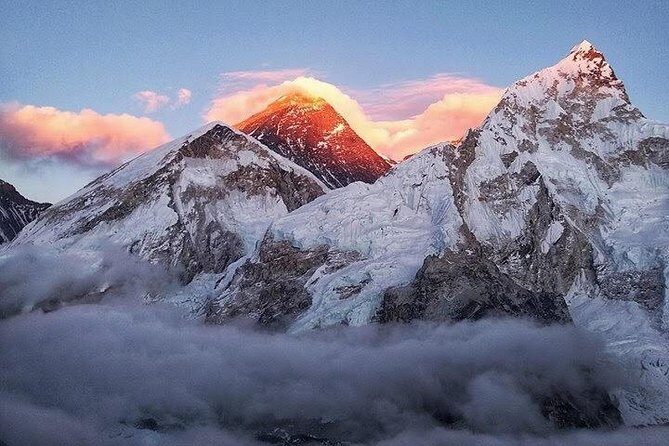
Day 7 is the big payoff built into the schedule. You hike to Gorakshep (about 5,380m) and then head to Everest Base Camp before returning to Gorakshep (around 5,180m). This is the day you came for, but it’s also the day where altitude makes every step feel heavier than it looked in the morning.
Even with the physical challenge, this is the moment when the Everest Base Camp area clicks into place emotionally. The views here are often described as converging lines—like the mountains are all pointing at one central truth. And the Khumbu Icefall area becomes part of the atmosphere you’re trekking through, not just something you read about.
What I like about this setup: it includes the “go up and see it” day while also keeping you at a high lodge base (Gorakshep) for the overnight. That’s practical because it sets you up for the next day’s high viewpoint effort.
What to watch: don’t treat Everest Base Camp as a sprint. You’ll enjoy it more if you arrive steady, breathing under control, and ready to take in the scale without rushing.
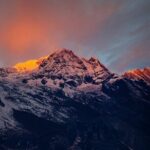
Kalapathar viewpoint and the descent: trading height for comfort (Day 8)
Day 8 climbs to Kalapathar (about 5,545m) and then continues down to Pheriche (around 4,320m). Kalapathar is the classic viewpoint that gives you another angle on the highest peak in the world, and it often becomes the “how did I get here” moment for people. But it’s also a demanding altitude day, even if you think you’re fine after Base Camp.
The smart part of this plan is what comes after: a descent to Pheriche. You’re not just going higher for the sake of higher. The itinerary brings you back down enough to start resetting your body for the final return days.
Why I think this works: the viewpoint day feels like a climax, and the descent is built into the plan so recovery isn’t left to luck. That’s especially helpful if you’re trying to keep energy for the later travel back.
Possible drawback: you’ll feel the fatigue stack up. If you’re prone to getting lightheaded, treat Kalapathar as a “steady effort” day and don’t try to outpace your breathing.
Back through Pheriche, Namche, and Phakding: finishing strong (Days 9-10)
Day 9 goes from Pheriche to Namche Bazaar (around 3,435m). Day 10 continues from Namche to Phakding and then Lukla (the schedule lists Lukla back around the 2,835m range). This section is less dramatic than the high points, but it’s still crucial. It’s how you get home safely while staying mentally fresh enough to enjoy the final valley views.
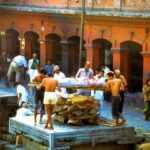
You’ll also pass through familiar ground where the culture feels more obvious again. Shops, monasteries, and the everyday movements of the Khumbu region stand out more on the way down. You’re no longer chasing altitude; you’re reconnecting with the villages.
What I like: the itinerary keeps the return from being one long grind without breaks. By the time you reach Lukla, you can feel like you finished the trek, not just survived it.
What to watch: even when you’re descending, your legs are still working. Take care of knees and pace your steps.
Day 11 flight to Kathmandu: planning for the last big transition
Day 11 is the Lukla-to-Kathmandu flight back to the city. This is the last step of the route, and it’s when you finally swap “trail life” for city life again. Since the trek package includes air fare for Kathmandu-Lukla-Kathmandu, you’re not juggling that part of the schedule on your own.
A practical note: the package includes meals during the trek, but it doesn’t include lunch and dinner in Kathmandu. The itinerary also doesn’t include your Kathmandu hotel. So if you’re arriving and immediately want a proper meal and a real bed, plan that part in advance.
Why this matters for value: a great trek can turn annoying if you’re scrambling afterward. Here, at least the big transport piece is covered, leaving only the usual city-day planning on you.
Price and Logistics: what $1,699 covers (and what you must add)
At $1,699 per person for an 11-day Everest Base Camp trek, the value depends on how you compare it to the real costs of doing this route independently. This package includes a long list of the expensive basics: air fare, full board meals during the trek, government-licensed guide service, porter support, TIMS card, trekking permits needed for restricted area trekking, first aid kit, and accommodations during the trek.
It also includes pickup and drop to the local airport for the Lukla flight days, plus ground transportation when returning from the trek destination back to Kathmandu. Add in a farewell dinner prior to departure, and you’re getting more than just “walking days.”
But it’s not a fully all-inclusive fantasy bundle. Not included are your Kathmandu meals (lunch and dinner) and Kathmandu hotel, travel insurance, Nepal entry visa fee, international airfare and airport departure tax, tips for trekking staff, drinks during the trek, and any personal shopping or laundry. Your own trekking gear and souvenirs are also on you.
My take on the trade-off: if you want to keep the planning load low and still get the key permits and guides handled, this price feels grounded. If you already have permits, guide contacts, and domestic flights locked, the package might be less necessary. Most people booking this route are doing it because they want structure; that’s where the cost usually justifies itself.
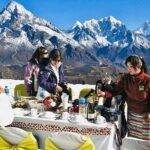
Guides and porter setup: why support matters more than people admit
A government license holder guide is included, and the porter arrangement is typical of “lighten your load” rather than “carry everything.” The info states you normally get 1 porter for 2 clients, which is a helpful detail for budgeting your effort and packing.
What stands out in the feedback pattern for this operator is the way guides stay in touch and make the days feel manageable. Dipu is specifically highlighted in multiple experiences for being supportive during the hike and for helping keep logistics smooth like lodges and booked flight tickets. That kind of practical guidance matters most on high-stress days: the transition days, the altitude jump days, and the “I need to eat and drink now” days.
What to watch: even with a porter, you should carry your essentials. You’ll still be doing most of the walking, and altitude makes every bag decision feel bigger.
Who should book this Everest Base Camp trek?
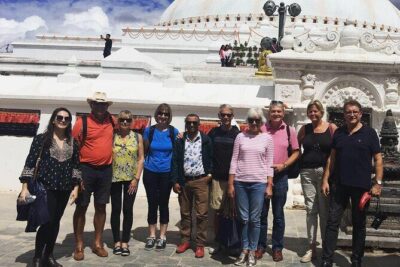
This trek is best for people with at least moderate physical fitness who want a well-run route with clear acclimatization. If you’re excited by Sherpa culture, monasteries, and the Everest region’s unique mix of scenery and human life, this itinerary hits that balance. The multi-ethnic groups and lifestyle focus, plus monastery stops and big viewpoint days, fit travelers who like meaning with their scenery.
It’s also a good match if you prefer a private setup. The tour is described as private, meaning only your group participates. That usually helps with pace, comfort, and decision-making.
Consider looking elsewhere (or at least asking questions) if you’re expecting a gentle stroll. This is high-altitude trekking. Even with acclimatization days, you’re going into thin air around Everest Base Camp, Gorakshep, and Kalapathar.
Should you book Mount Face Nepal for Everest Base Camp?
I’d say yes if your priority is a structured trek where permits, meals during the trek, guide support, and key logistics are handled for you. The itinerary’s inclusion of a dedicated Namche acclimatization day and the high-point payoff at Kalapathar are the kind of planning that helps people enjoy the mountain instead of just surviving it.
I’d hesitate if you want a fully all-inclusive vacation package, because Kathmandu hotel, Kathmandu meals, visa, travel insurance, drinks, and tips are not included. Also, be honest about your fitness level. The trek is designed thoughtfully, but altitude doesn’t negotiate.
FAQ
How long is the Everest Base Camp trek?
It’s listed as 11 days, with the route running from Kathmandu to Lukla and back to Kathmandu at the end.
What does the tour price include?
Included items cover pickup and drop to the local airport for Lukla flights, full board meals (breakfast, lunch, dinner) during the trekking period, Kathmandu–Lukla–Kathmandu air fare, guide services, porter support, accommodations during the trek, TIMS card, trekking permits, first aid kit, and a farewell dinner prior to departure.
Do I need trekking permits and a TIMS card?
Yes. The package includes TIMS card and trekking permits needed for restricted area trekking.
Is pickup offered in Kathmandu?
Yes. Pickup is offered for the local airport connection for the Lukla flights, and the start meeting point is in Thamel, Kathmandu.
Will I have porter help with baggage?
Yes. The plan states that you’ll normally get 1 porter for 2 clients to carry your baggage.
Is travel insurance included?
No. Travel insurance is not included in the package, and you’ll need to arrange it yourself.